
 Admin
 19 Nov 2026
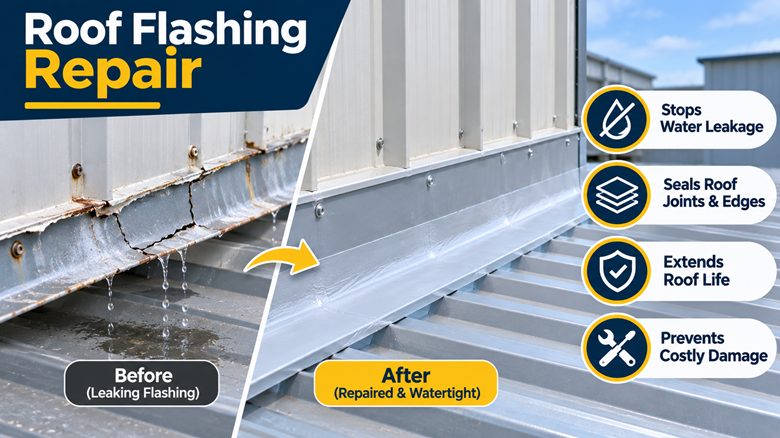
The call usually comes after the first proper rain. A warehouse supervisor says water is dripping onto a pallet of finished goods, and the roof was “fine” last year. We go up, walk around, and nine times out of ten the main membrane is healthy. The trouble is one metre of flashing around a curb, a parapet or a pipe.
Flashing is the strip of metal or membrane that seals the places where the roof meets something else. It moves with heat and cold every single day, so it takes the beating. Leave a small gap and water gets under the insulation, soaks it, and travels sideways. By the time you see a stain inside, it is often three or four metres from the real leak. So, let us see how roof flashing repair is done properly.
On industrial roofs it is rarely one big cause. Metal expands and contracts, and after a few years the sealant at the joints cracks. Fasteners back out. Vibration from plant equipment pulls counterflashing away from the wall. Ponding water near a drain makes all of it worse.
Honestly, we blame bad original detailing most of all. Laps under 50 mm, or a reglet cut too shallow to hold the counterflashing, will leak sooner or later, whatever product you smear on top.
This is the sequence we follow on most jobs. It is not fancy, but skipping any step is how repairs come back.
Find the leak first
Mark every suspect spot, then hose test one section at a time, starting low and working up. Water can run a long way down a wall before it drips.
Clean and prep
Cut out loose sealant and rusted fasteners. Wire brush the metal back to bright, clean steel and wipe it with solvent. Old membrane that has lifted gets cut back until it is firmly bonded. Then check for moisture. We tape a clear plastic to the surface, and if condensation shows up inside after an hour, the substrate is still wet and we wait. Priming over damp is the quickest way to a failed repair six months later.
For hairline cracks and open laps, a polyurethane sealant reinforced with polyester fabric usually does the job. For wider failures use a liquid applied membrane, with fabric embedded in the first coat. Damaged metal is replaced, not patched. Use galvanised steel or aluminium, lapped at least 50 mm and sealed, with the counterflashing pushed well into the reglet.
A small tip: never use general purpose silicone here. It will not bond to old, dusty metal, and nothing will stick over it afterwards.
Cure and test
Most liquid systems are tack free in four to six hours and fully cured in 24 to 48 hours at around 25°C. Cooler or humid days take longer, so do not rush it. After that flood test low areas and curbs with for 24 hours. If it holds, call it done.
If more than a quarter of the flashing is failing, or the insulation underneath is wet, patching only buys you time. Replace it. While ignoring it can cost you ruined stock and a re-roof you were not planning for.
Most flashing leaks are small, boring problems that become expensive only because they were left alone. If you have a stain on a ceiling or a drip over a production aisle, have someone look at the flashing before anything else. At Organix, we walk the roof with you, show you what we find, and tell you honestly whether it needs a repair or something bigger. Get in touch with our team whenever you want a second pair of eyes up there.
How To Repair Leaking Roof Flashing Around Industrial Buildings
Admin
19 Nov 2026
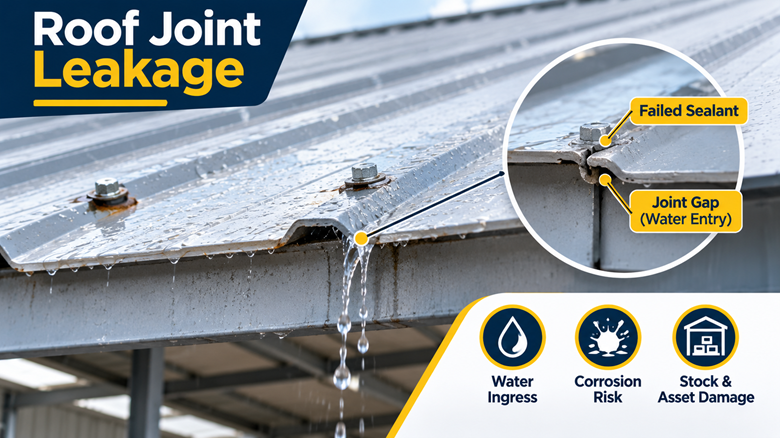
How To Stop Water Leakage From Industrial Roof Joints And Fasteners In The Uae
Admin
19 Nov 2026

What Makes Some Industrial Floors Last Longer Than Others?
Admin
19 Oct 2026

Fire Protection Methods For Commercial Buildings: What Every Owner Should Know
Admin
18 Oct 2026
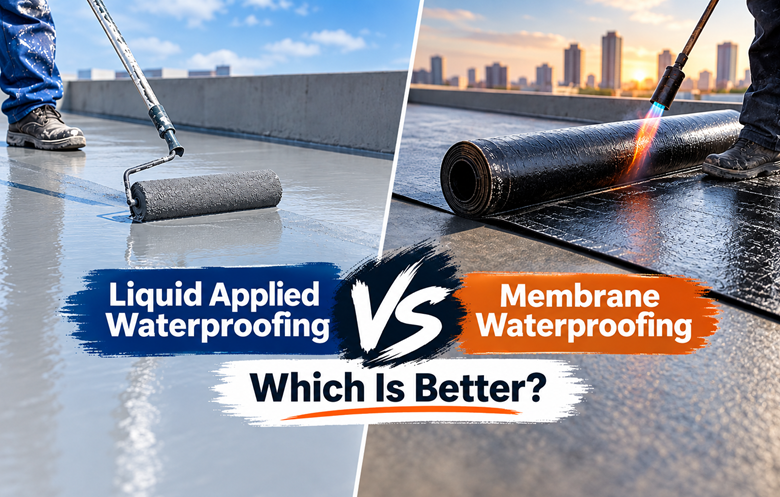
Liquid Applied Waterproofing Vs Membrane Waterproofing and Which Is Better?
Admin
23 Sep 2026
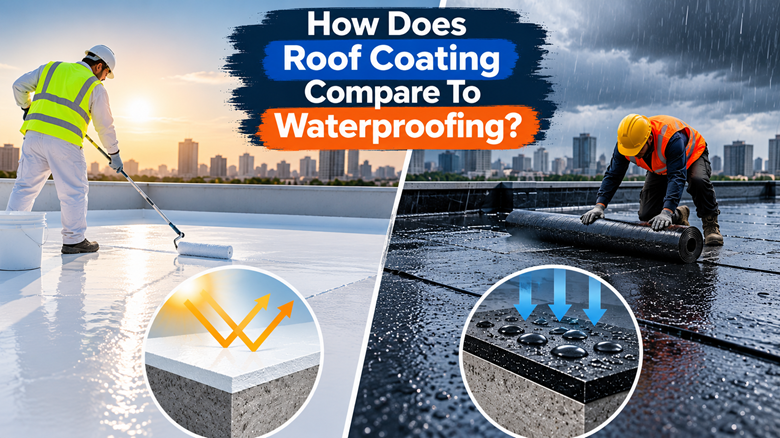
How Does Roof Coating Compare To Waterproofing?
Admin
20 Sep 2026