
We have seen it happen too many times. You walk into your beautiful bathroom, but behind the shiny tiles, a silent disaster is brewing. Water is sneaking through the grout, rotting the walls from the inside out. But here is the good news. You are about to stop that problem for good. By the time you finish reading this, you will know exactly how to build a fortress around your wet areas.
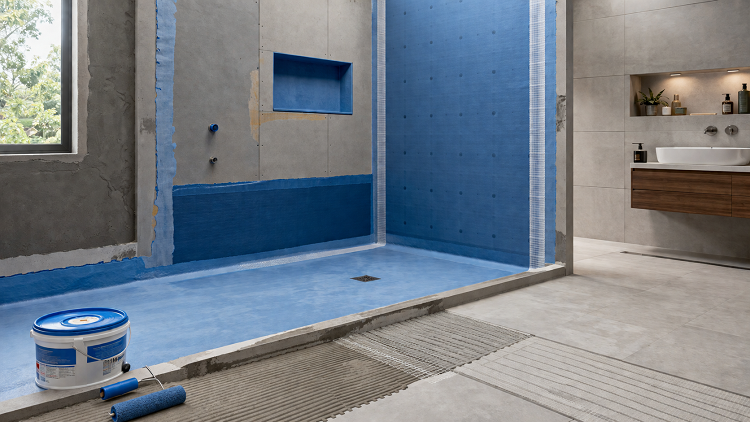
Wet area waterproofing refers to the process of creating a protective barrier in moisture-prone spaces like bathrooms, kitchens, balconies, and laundry areas. These are the zones where water exposure is frequent and unavoidable. Without proper protection, water seeps into the structure, weakening concrete, corroding steel, and damaging finishes.
While your tiles look tough, they are actually a bit like a sponge. Water can pass right through the grout lines. Wet area waterproofing is the layer of liquid rubber or membrane that is applied to the concrete before a single tile goes down. It seals every single pore.
Waterproofing might feel like an extra step, but you cannot afford to skip it. When water escapes, it travels. It rusts steel, warps wardrobes, and drips onto your neighbour’s sofa. Damage builds slowly and silently, leading to structural issues, mold, and expensive repairs. Investing in proper methods protects your property value and indoor health. It is one of the smartest investments you can make early on.
• Polyurethane liquid membrane: Polyurethane is not just another chemical. It is a high-performance elastomer. That means it stays flexible like rubber but tough like armour. When we use a polyurethane-based membrane, such as our DryTex PU Range, we provide the same protection used on bridges, parking decks, etc.
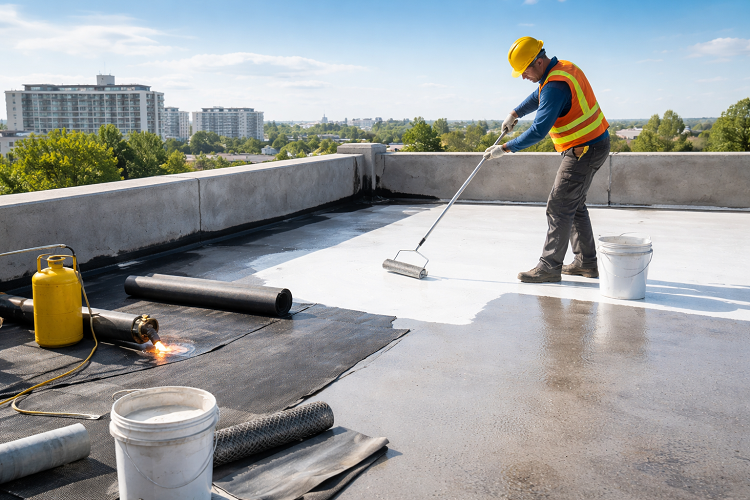
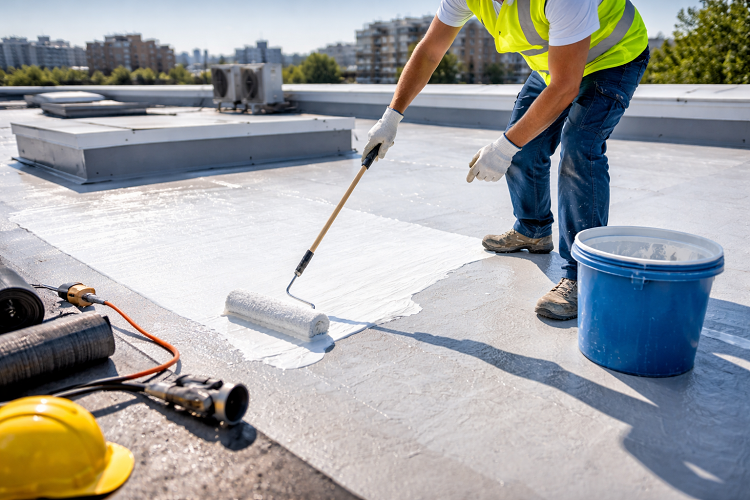
• Liquid-applied membrane: This is our specialty. We use products like our DryTex WAPRO 208. Imagine a thick, elastic liquid that we roll or brush onto your floors and walls. As it dries, it turns into a single, seamless sheet of rubber.
Why do we love it? Because it follows every curve of your floor. It fills in the hairline cracks and moves with the building. If the ground settles slightly (which it always does), this membrane stretches, but it never tears.
• Cementitious waterproofing: You will see this a lot on construction sites. It comes as a powder that you mix with water. It is hard and strong, like adding a layer of super-dense plaster. You can use this mostly as a preparation layer. It is great for levelling the surface, but it is rigid. If the house moves, this can crack. For a permanent solution, we always top it with a liquid polymer.
• Wet Area Waterproofing: This is the smart stuff. We use DryTex CW400 for specific situations. Instead of just coating the surface, these chemicals react with the concrete. They grow tiny crystals inside the pores of the concrete to block the water. It is self-healing. If a small crack forms later due to a heavy load, water reaches the exposed chemical, and the crystals regrow to seal the gap.
• Preparation is everything – Clean the floor until it sparkles. Grind high spots, fill holes. Weak substrate means a failed bond.
• The corner detail – The 90-degree angle where the floor meets the wall is the enemy. We install reinforcement mesh or pre-formed corner bands to give extra strength where stress is highest.
• Don’t be cheap with coats – One coat is never enough. Apply at least two, drying fully between. First coat horizontal, second vertical to cover every pinhole.
Materials that make the difference – At Organix, we formulate for real life. DryTex WAPRO 208 is elastic, tough, and ultra-low VOC. DryTex PU Range offers extreme durability. DryTex P2000 has been used to waterproof and protect the podium structure, the internal wet area of UAE pavilion at Expo 2020.
We have seen too many DIY disasters. Let us save you from these headaches.
Mistake 1: Forgetting the Pipes – Where pipes exit the wall is a massive hole. Use specialized collars or wrap with waterproofing tape.
Mistake 2: Skipping the Primer – Without primer, the membrane peels off. Primer opens concrete pores so the glue sticks.
Mistake 3: Rushing the Flood Test – Never tile immediately. Fill the area with water and wait 48 hours. If the water level drops, you leak.
You don’t have to live in fear of the next leak. By using the right bathroom waterproofing methods, you are choosing strength, safety, and silence. At Organix Building System, we combine technical expertise with high-quality materials to deliver reliable waterproofing solutions tailored to your needs. If you are planning a new project or facing waterproofing issues, this is the right time to act.
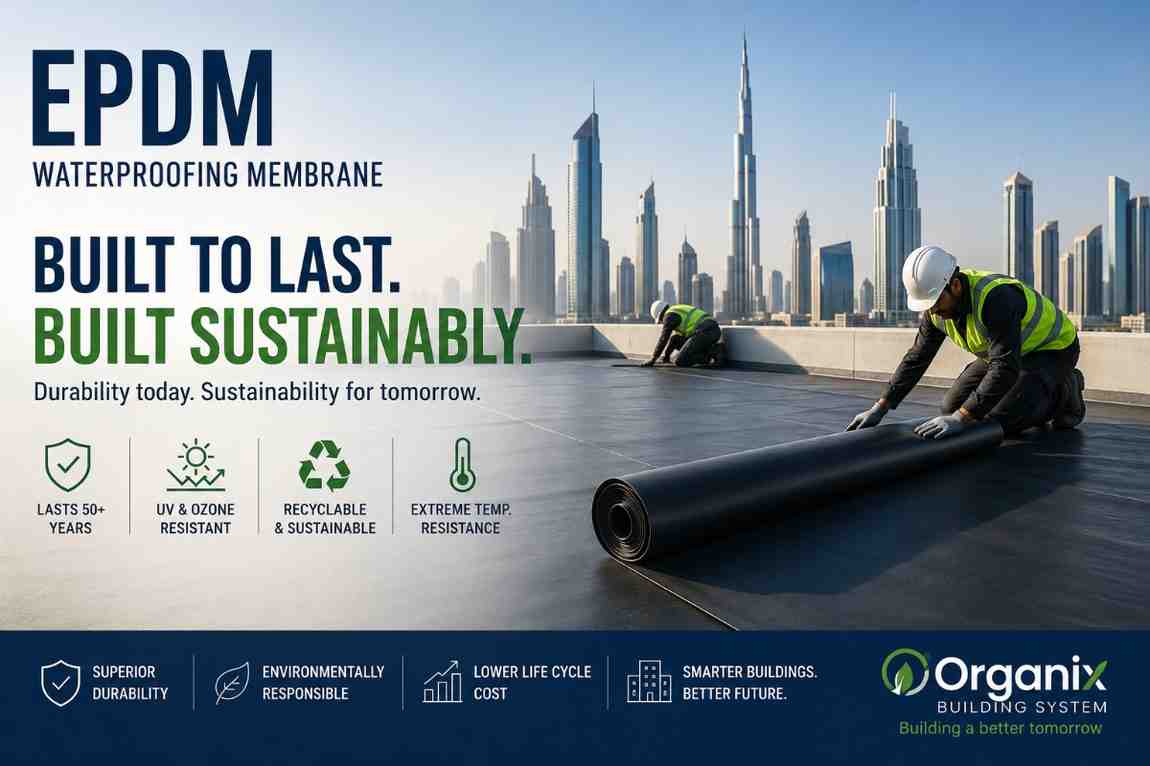
How Epdm Membrane Manufacturers Are Improving Durability And Sustainability For Modern Construction Projects
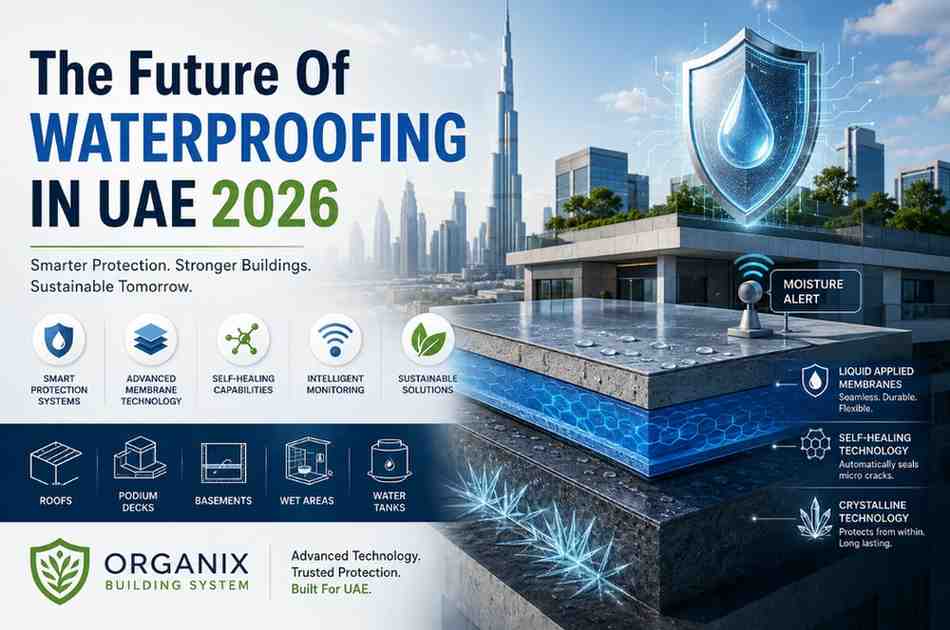
Waterproofing Dubai 2026: New Technologies Every Property Owner Should Know About
Wet Area Waterproofing Methods And Best Practices
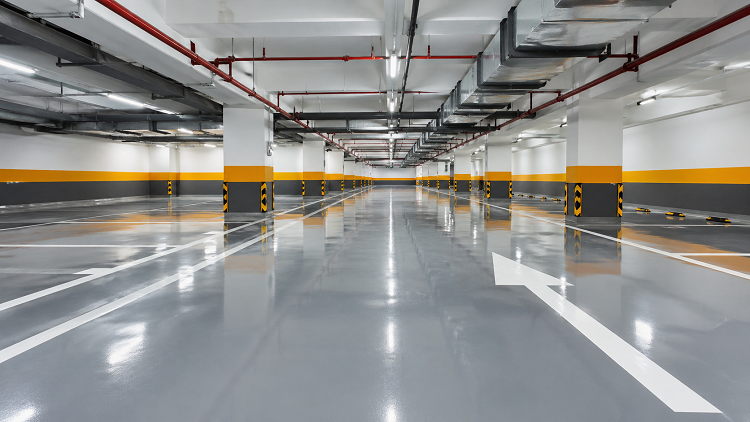
Benefits Of Car Park Epoxy Flooring For Parking Areas
Concrete Roof Waterproofing Methods And Benefits
Importance Of Roof Waterproofing